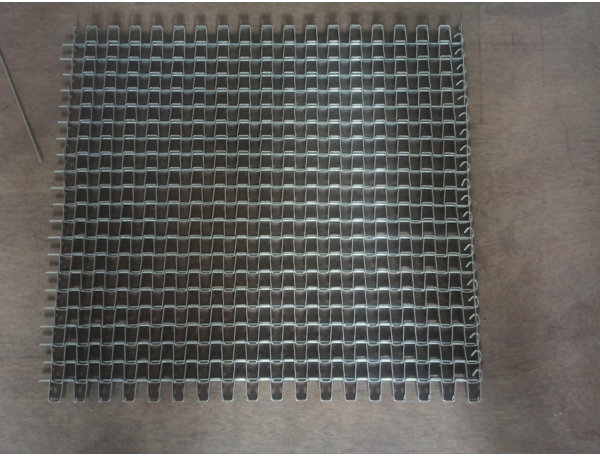
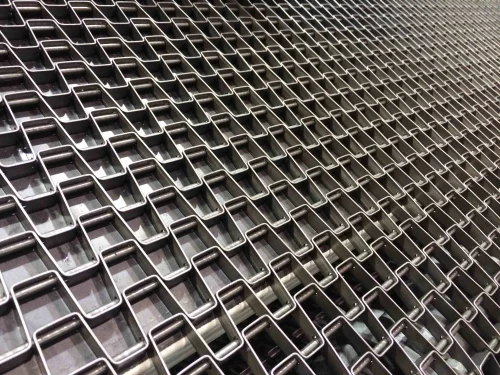
Honeycomb conveyor belt Advantages:
• Twice the life of competitive belts
• Installation requires no special tools
• Positive driven for excellent belt tracking
• Up to 81% open area for excellent flow through
• Allows for tight transfers
• Available up to 150 inches wide
• High strength-to-weight ratio
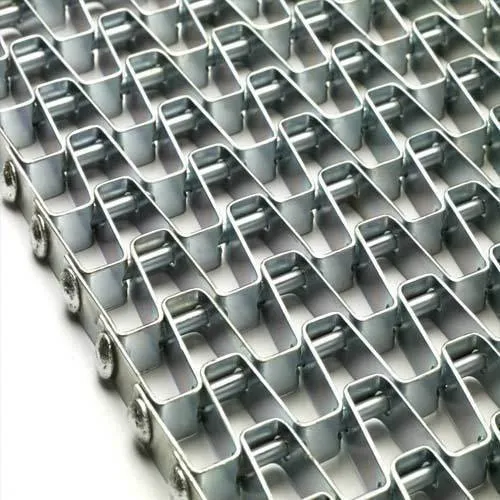
• Welded button edge or clinched edge
• Flat carrying surface
• Easy to clean and to install
• Easily joined
• Strong edge reduces snagging or catching on conveyor protrusions
Specification :
Opening Size available are ½” x 1/2”, 1” x ½” & 1” x 1”. Standard Duty Conveyor Belt Strip size 9.5 mm Belt Height, 1.2 mm Thick Flat Strip & 3 mm Diameter crossroad.
We make Conveyor Belt Customize sizes as per Client requirements.
Honeycomb Conveyor Belt Application:
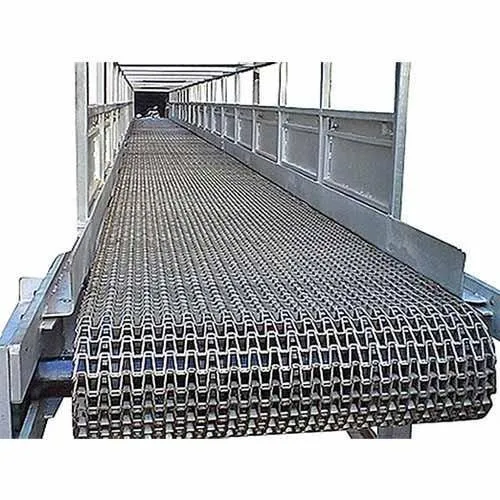
The Honeycomb belts, with high temperature resistance, large open area, and flat surface are widely used in the following applications.
● Transport systems
● Heating systems
● Baking systems
● Cooling systems
● Washing systems
● Freezing systems
● Packaging systems
● Sorting systems
● Drying systems
● Product handling systems
● Sieving systems
● Bread production systems
● Waste handling systems
Help
Honeycomb Conveyor Belt Installation Guide:
Preparation
Before installing a new belt, always check the conveyor structure:
1. Shafts to be at 90° to the direction of travel, and horizontal.
2. Rollers to be free to rotate.
3. Sprockets to be correctly positioned, and aligned.
4. Belt-supporting surfaces are smooth and level. Check that there are no parts of the structure that can catch up the belt.
5. If a take-up mechanism is fitted, ensure that it is functioning correctly.
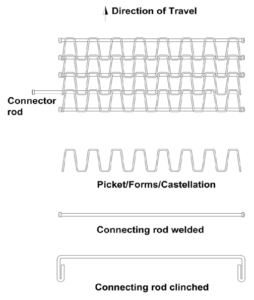
The belt has to be installed with the correct direction of travel. Splicing cross rods are supplied with the belt. Depending on the edge style they will either have one side having a welded button edge or a pre-clinched edge.
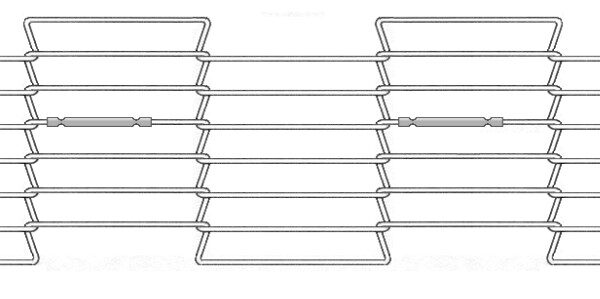
The apertures of both ends of the belt will then be aligned and, if necessary, can be fixed using cable ties. The splicing rod is then pushed through the holes of the belt strands.
ln the case of a welded edge the button head (nut) is being placed on the end of the rod and welded to it.
Installation Procedure
- The belting should be pulled through the conveyor circuit until the two ends meet.
- Excess belting should be cut off at this point.
- Temporarily, the two ends can be tied together; this may make assembly easier.
- The belt is joined by inserting a connecting rod through the pickets at the ends of the belt.
- The connecting rod should then either have washers we add to the edges or be rotated until it hooks onto the next clinch, depending on the type.




Reviews
There are no reviews yet.